If you’re a fan of peas and love to have them in your meals, then you know how important it is to have fresh peas all the time. However, fresh peas can be challenging to find, especially when they are out of season. This is where freezing comes in handy. Freezing peas is a great way to preserve them, ensuring they remain fresh and flavorful for a more extended period. But before freezing your peas, you need to blanch them.
Blanching is a crucial step in the freezing process that helps to preserve the quality, flavor, and nutrition of the peas. Blanching involves boiling the peas for a short period and then plunging them into ice water to stop the cooking process. This process helps to destroy any harmful microorganisms that may be present on the peas, such as bacteria and enzymes that can cause spoilage. It also helps to maintain the color, texture, and flavor of the peas, making them look and taste as fresh as possible.
Blanching peas before freezing is essential as it helps to ensure that the peas remain fresh and flavorful for an extended period. This process also helps to preserve the nutritional value of the peas, ensuring that you get all the essential nutrients that peas have to offer. By following the right blanching process, you can increase the shelf life of your peas and have them available for use whenever you want, regardless of the season. In the next section, we’ll take a look at how to prepare your peas for blanching.
Preparing Peas for Blanching

Before blanching your peas, you need to prepare them adequately. Preparing your peas involves selecting fresh and quality peas, cleaning and removing the pods, and sorting and inspecting the peas to ensure that they are in good condition.
Selecting Fresh and Quality Peas
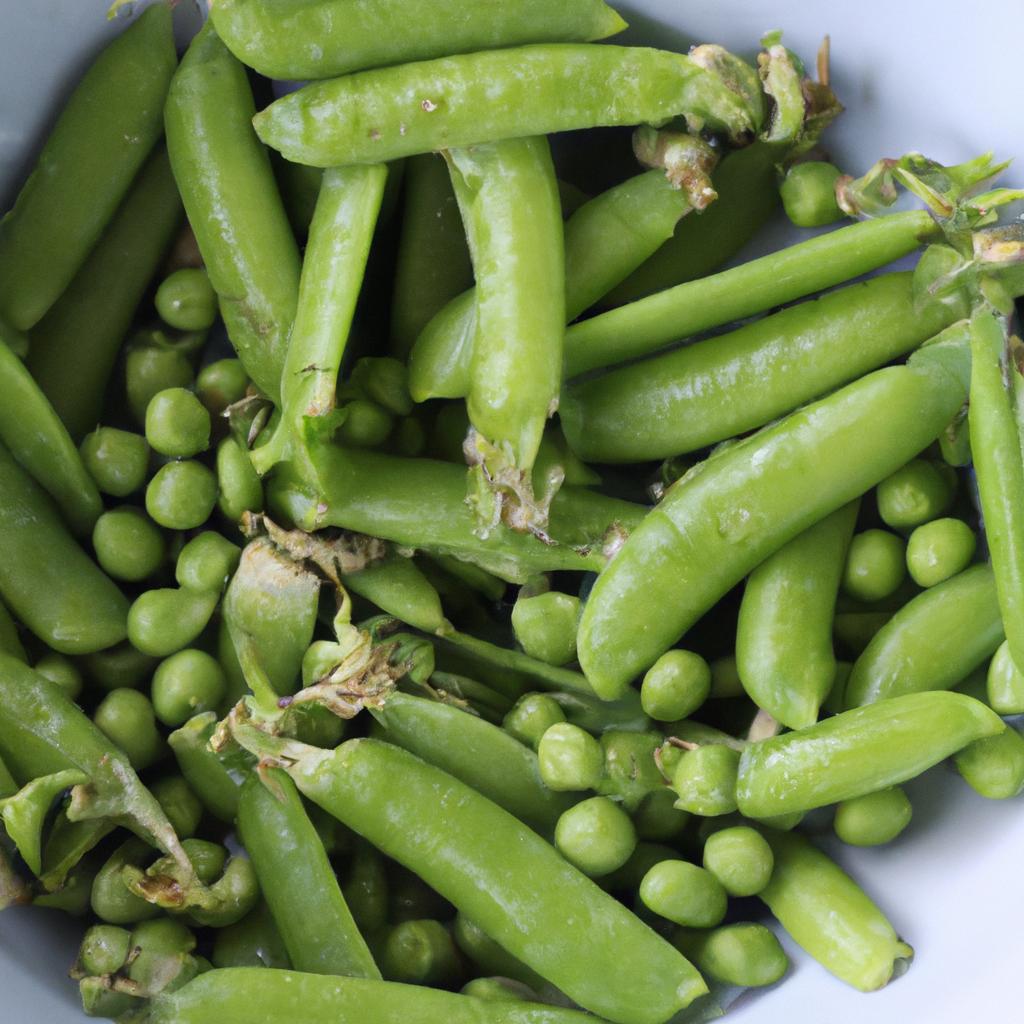
When selecting peas for blanching, it is essential to choose fresh and quality peas. Fresh peas have a bright green color and a slightly sweet smell. Avoid peas that are yellow or brown, as they are likely to be old and less flavorful. Choose peas that are plump, firm, and evenly sized, as they are likely to cook evenly.
Cleaning and Removing the Pods
Once you have selected your peas, it’s time to clean and remove the pods. Start by washing the peas in cold water to remove any dirt or debris. Then, remove the pods by gently squeezing them until they pop open, revealing the peas inside. Discard the pods and collect the peas in a bowl.
Sorting and Inspecting the Peas
After removing the pods, you need to sort and inspect the peas to ensure that they are in good condition. Look for any peas that are discolored or have spots, as these may be old or spoiled. Remove any damaged or discolored peas and discard them. Once you have sorted and inspected your peas, they are ready for blanching. In the next section, we’ll take a look at the blanching process.
Blanching Process

Blanching peas is a simple process that requires minimal effort, but it’s crucial to get it right to ensure that your peas are correctly preserved. Here’s how to blanch your peas before freezing:
Boiling water and adding salt
Start by filling a large pot with water and bringing it to a rolling boil. For every gallon of water, add about a tablespoon of salt. The salt helps to preserve the color and flavor of the peas and also helps to destroy any harmful microorganisms that may be present on the peas.
Adding peas to the boiling water
Once the water is boiling, add your peas to the pot. Make sure that your peas are not overcrowded in the pot, as this can affect the blanching process. Let the peas boil for about 2 to 3 minutes. This time may vary depending on the size and variety of the peas, so keep an eye on them and test them occasionally for doneness.
Timing the blanching process
Timing is crucial when blanching peas. Overcooking or undercooking the peas can affect their texture, flavor, and color. As a general rule, blanch small peas for 2 minutes and larger peas for 3 minutes. If you’re unsure, test the peas every 30 seconds until they’re cooked to your desired level.
Using an ice bath to stop the cooking process
Once the peas are cooked, it’s essential to stop the cooking process immediately to prevent them from becoming mushy. To do this, remove the peas from the boiling water using a strainer or slotted spoon and plunge them into a bowl of ice water. This will cool them down quickly and stop the cooking process. Let them sit in the ice water for about 2 to 3 minutes, then drain them thoroughly. Your peas are now ready for freezing!
Freezing Process

After blanching your peas, the next step is to freeze them. Freezing is an excellent way to store your peas for an extended period, ensuring that you have fresh peas whenever you need them. Here are the steps to follow when freezing your peas:
Draining Excess Water from the Peas
Once you have blanched your peas, remove them from the ice water bath and drain them. Use a strainer or a colander to get rid of any excess water on the peas. It’s essential to make sure that the peas are as dry as possible before freezing them. Excess water can cause freezer burn, which can affect the quality of the peas.
Packing the Peas in Freezer Bags or Containers
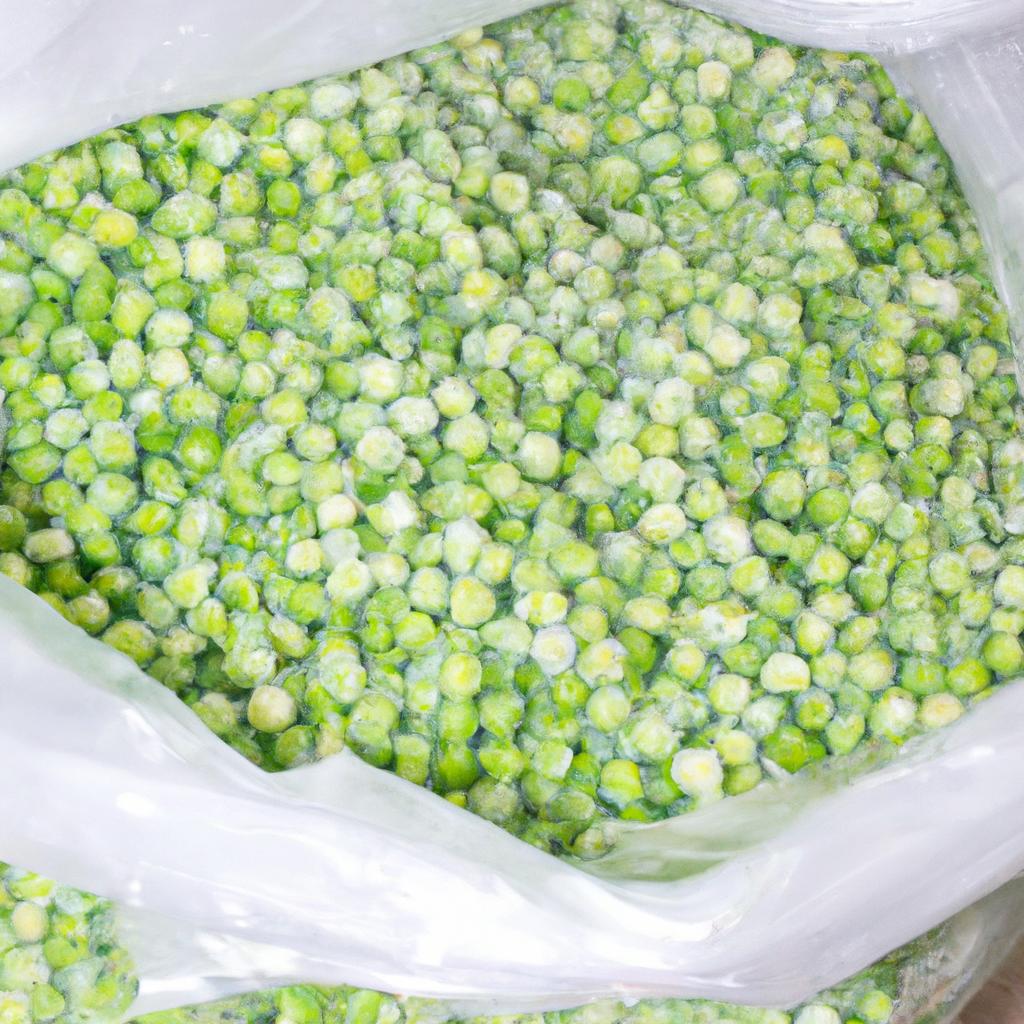
Once your peas are dry, pack them in freezer bags or containers. Make sure that you use airtight containers or freezer bags to prevent air from getting in, which can cause freezer burn. If you’re using freezer bags, make sure that you remove as much air as possible before sealing the bag. It’s also essential to label the freezer bags or containers with the date and contents to avoid confusion.
Labeling and Storing the Frozen Peas
After packing your peas in freezer bags or containers, place them in the freezer. It’s best to store them in a single layer to prevent them from freezing together. Once the peas are frozen, you can stack them to save space in the freezer. It’s essential to store your frozen peas at 0°F or below to ensure that they remain fresh and flavorful. Frozen peas can last for up to 8 months in the freezer.
In conclusion, freezing your peas is an excellent way to preserve their freshness, flavor, and nutritional value. By following the right freezing process, you can enjoy fresh peas all year round. In the next section, we’ll take a look at some tips and tricks for successful blanching and freezing.
Tips and Tricks for Successful Blanching and Freezing
Blanching and freezing peas is a relatively simple process, but there are a few tips and tricks that can help you ensure that your peas remain fresh and flavorful. Here are some essential tips and tricks for successful blanching and freezing:
Using a Strainer or Slotted Spoon to Remove Peas from the Boiling Water
After boiling the peas for the recommended time, you need to remove them from the boiling water and transfer them to the ice bath to stop the cooking process. Using a strainer or slotted spoon is the best way to remove the peas from the boiling water without losing any of them. These tools allow you to remove the peas quickly and efficiently, ensuring that they don’t overcook or undercook.
Avoiding Overblanching or Underblanching Peas
Overblanching or underblanching peas can affect their texture, flavor, and nutritional value. Overblanching can cause the peas to become mushy and lose their nutritional value, while underblanching can result in tough peas that are difficult to eat. It is essential to follow the recommended blanching time to ensure that your peas are perfectly blanched.
Using a Vacuum Sealer for Long-Term Storage
If you plan to store your frozen peas for an extended period, it is best to use a vacuum sealer. Vacuum sealing removes all the air from the freezer bag or container, preventing freezer burn and prolonging the shelf life of the peas. This method is particularly useful for long-term storage, ensuring that your peas remain fresh and flavorful for several months.
By following these tips and tricks, you can ensure that your peas remain fresh and flavorful after blanching and freezing. With the right blanching and freezing techniques, you can enjoy fresh peas all year round. In the next section, we’ll summarize the importance of blanching peas before freezing.
Conclusion
Blanching peas before freezing is an essential step in the preservation process that helps to maintain the quality, flavor, and nutritional value of the peas. This process helps to remove any bacteria or enzymes that may cause spoilage and maintain the color, texture, and flavor of the peas, making them look and taste as fresh as possible.
By following the steps outlined in this article, you can easily blanch your peas before freezing them, ensuring that they remain fresh and flavorful for an extended period. Remember to select fresh and quality peas, clean and remove the pods, sort and inspect the peas, boil them in salted water for a short period, and plunge them into ice water to stop the cooking process.
Blanching and freezing peas is a cost-effective and convenient way of preserving them, ensuring that you have fresh peas all year round. By freezing your peas, you can enjoy the many health benefits they have to offer, such as promoting heart health, reducing the risk of cancer, and aiding in digestion.
To sum up, blanching peas before freezing is a simple and easy process that anyone can do. By following the right blanching and freezing process, you can have fresh and flavorful peas available for use whenever you want. For more informative articles on peas and other healthy foods, visit peasbenefits.com.


